My fancy, very expensive MacBook Pro’s keyboard broke, and the battery started failing shortly after. I was a happy GNU/Linux user not so long ago, so I decided to take a step further and buy a Lenovo ThinkPad to make it my new daily driver. TL;DR The experience couldn’t be better, but I kept looking for ways to increase my productivity while ensuring the reliability of my main production machine. In this post I would like to share with you what I have learned in the process.
In my search for a minimal, lightweight distribution, I’ve been through Debian, Ubuntu, Arch, and finally, Void Linux. I like most of the key features of the latest (that’s probably a topic for another post), it’s very well documented, extremely fast, and comes with a pretty lightweight package manager, so I’m stick with it for now.
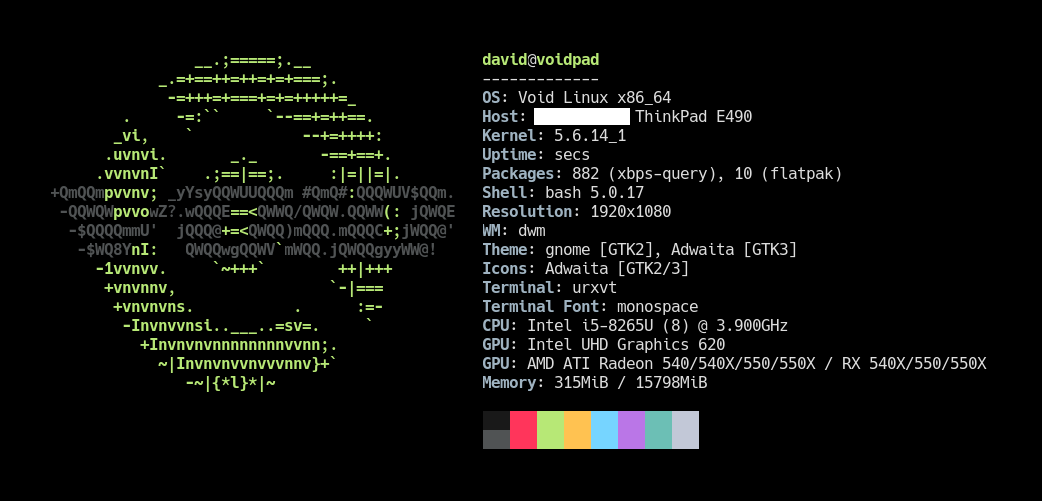
^ That’s a nice
neofetchoutput.
I do software development for a living, but stuff like image or light video editing could be part of my day too. That’s why I need hardware and software that I can trust and rely on, or at least around which I can build tools that keep me productive and worry-free in my day-to-day.
Fast, reproducible installation
The Void Linux live image allows me to download and run a custom installation script right after getting it booted up (via a USB drive, SD card, or even a CD-ROM thingy if you miss the 90s), as the installation process starts with an empty shell with root privileges. I am aware that this can be achieved in almost every other distro out there as you can always switch to one of the tty available and do your stuff, but Void does it by design. A kind of guided installation process is also available by launching the void-installer script, which is a good TUI if you don’t need any extra features such as file system encryption, but it can be skipped completely.
For the system itself, I use my own install.sh script, which deals with disk partitioning, file system encryption, setting up the bootloader, and so on, and ends up creating an initial user ready to log in with a kickstart.sh script in its home folder, which is precisely the second part of this process. It is definitely not the most polished shell scripting in the world but does the job.
Here is an example of what you can find in the script regarding configuration:
# -- Configuration. Set values carefully.

# Block device in which the system will be installed on.
device=/dev/sda # It typically is `/dev/nvme0n1` in NVMe drives.

# See https://docs.voidlinux.org/installation/live-images/partitions.html#swap-partitions.
swap_partition_size=2G

# Kernel version the system will boot on.
kernel_version=linux5.4

# Time zone in `zoneinfo` format.
time_zone=Europe/Madrid

# Locale.
lang=en_US.UTF-8

# Hostname.
hostname=void

# Initial user. Will be created automatically with `sudo` privileges.
user=david

# XBPS repo to download the base packages from. Default should be good.
xbps_repo_url=https://alpha.de.repo.voidlinux.org/current

# Kickstart script. Can be left blank.
kickstart_script_url=https://raw.githubusercontent.com/danguita/scripts/master/kickstart/kickstart-void.sh

# Do not change these values unless you know what you're doing.
boot_partition="${device}1" # i.e. `/dev/sda1`
root_partition="${device}2" # i.e. `/dev/sda2`

# -- End of Configuration.
That kickstart.sh script is intended to be run by any user other than root, for the sake of security, and manages to install all the packages that I need on a daily basis, apart from setting up my personal configuration. To allow some granularity, any optional packages are installed only on user confirmation, which leaves me the possibility of having a slightly less bloated system on certain scenarios.
Just as an example, here is the block that manages to add Docker support:
if confirm "Docker"; then
  install_package docker docker-compose
  enable_service docker
  add_user_to_group docker
fi
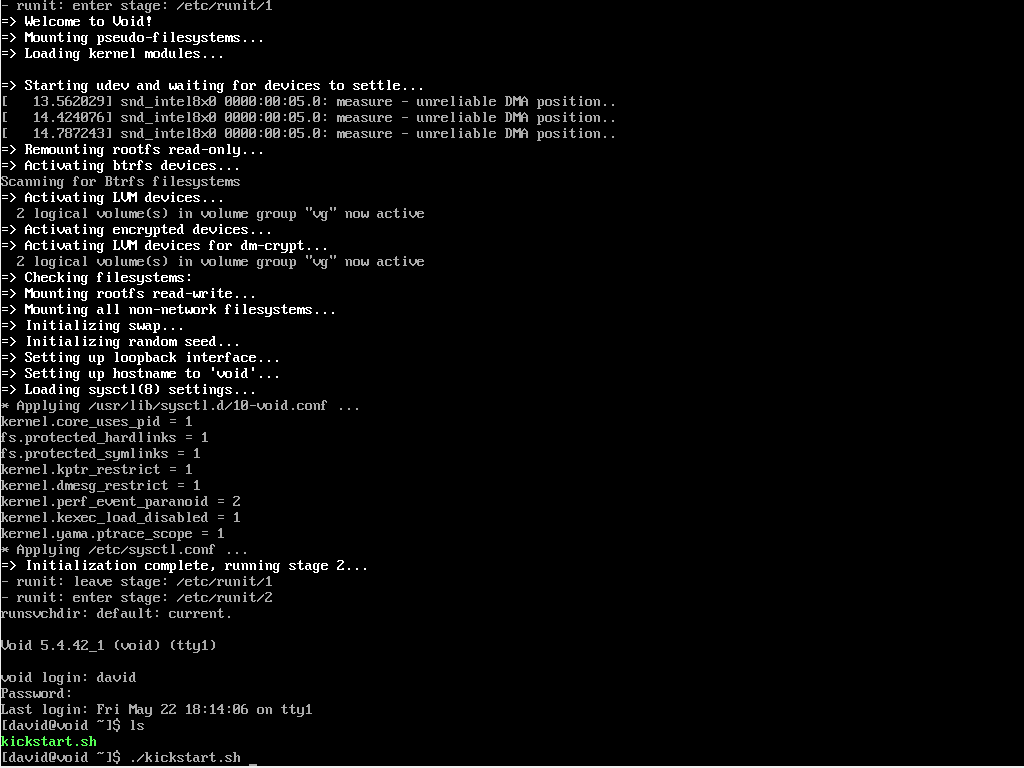
^ First boot after a fresh installation. The
kickstart.shscript is there waiting to be executed.
And here comes the script that puts all pieces together: My dotfiles repo, which holds the actual configurations, is publicly available on GitHub so the kickstart.sh script can just clone it and execute the installation script provided (it’s a good old make install). All my configuration files and scripts should be there in a couple of minutes. At this time, the machine is pretty much ready for production. Remember that we started with a root shell just a few minutes ago, and the process basically required me to set some passwords and hit the enter key a couple of times, which is nice.
→ dotfiles
Here is the function that manages to install the dotfiles:
install_dotfiles() {
  mkdir -p "$dotfiles_path"
  git clone --recurse-submodules "$dotfiles_repo_url" "$dotfiles_path"
  make -C "$dotfiles_path" install
}
Just for the record, there is a fourth step that consists of restoring a backup from a previous installation. It puts all my workspace files back using rsync, and does it very quickly too. Nothing fancy here, just handcrafted backup.sh and restore.sh scripts that archive and restore some selected paths given a $HOSTNAME. You know, even though it is not required there is always code, documentation, and other stuff that you may want to keep between installations.
A full backup (this mode includes some extra paths) over a specific destination (this is a fictitious remote machine) can be triggered by running:
$ FULL_BACKUP=true DEST_PATH=wadus:/home/david/Private ./backup.sh
As you would expect, the restore script works symmetrically:
$ FULL_RESTORE=true SRC_PATH=wadus:/home/david/Private ./restore.sh
Now that the system is up and running, let me show you some of the key parts of my day-to-day development environment.
Window manager
I spend most of my time between terminals and browser windows on a laptop screen, thus I look for an environment that is simple to use and to maintain at this level too.
Like many of you, I ended up getting comfortable with tiling window managers. No desktop environments or display managers, just the window manager itself, and a bunch of daemonized processes that help with keybindings, system events, on-screen notifications, and other stuff.
For instance, here is a simplified version of my ~/.xinitrc:
# Custom keybindings
xbindkeys &

# On-screen notifications
dunst &

# Start window manager
exec dwm 2> ~/tmp/dwm.log
^ Check out the complete version in my dotfiles repo.
So, these two daemonized processes and the WM itself get started by
running startx.
At the time of writing this I’m using dwm, which stands for “dynamic window manager”. I would probably write about it in a separate post, but coming from GNOME, and i3 for a while, the experience is going very well so far. My workflow fits perfectly in dwm’s master-stack approach, and the tool itself is incredibly lightweight and fast. Just as a curiosity, you set your preferences right in dwm’s source code (in a header file, to be precise) so they get applied after compiling it. Not very user friendly, but I have to admit that it is extremely efficient (“suckless”, they say).

^ Intentionally busy desktop, just for the screenshot :shrug:
Text editor
My text editor of choice is Neovim, which I use for almost everything, although my current configuration is fully compatible with Vim 8+. When programming, I rely on coc.nvim for adding Language Server support through extensions, à la VS Code.
There’s not much to say on this set up except that I try to keep dependencies to a very minimum. I uninstall those that I don’t use often, or that can just be replaced with a core function or a small script, so apart from Coc, no other plugin is really relevant at this point.
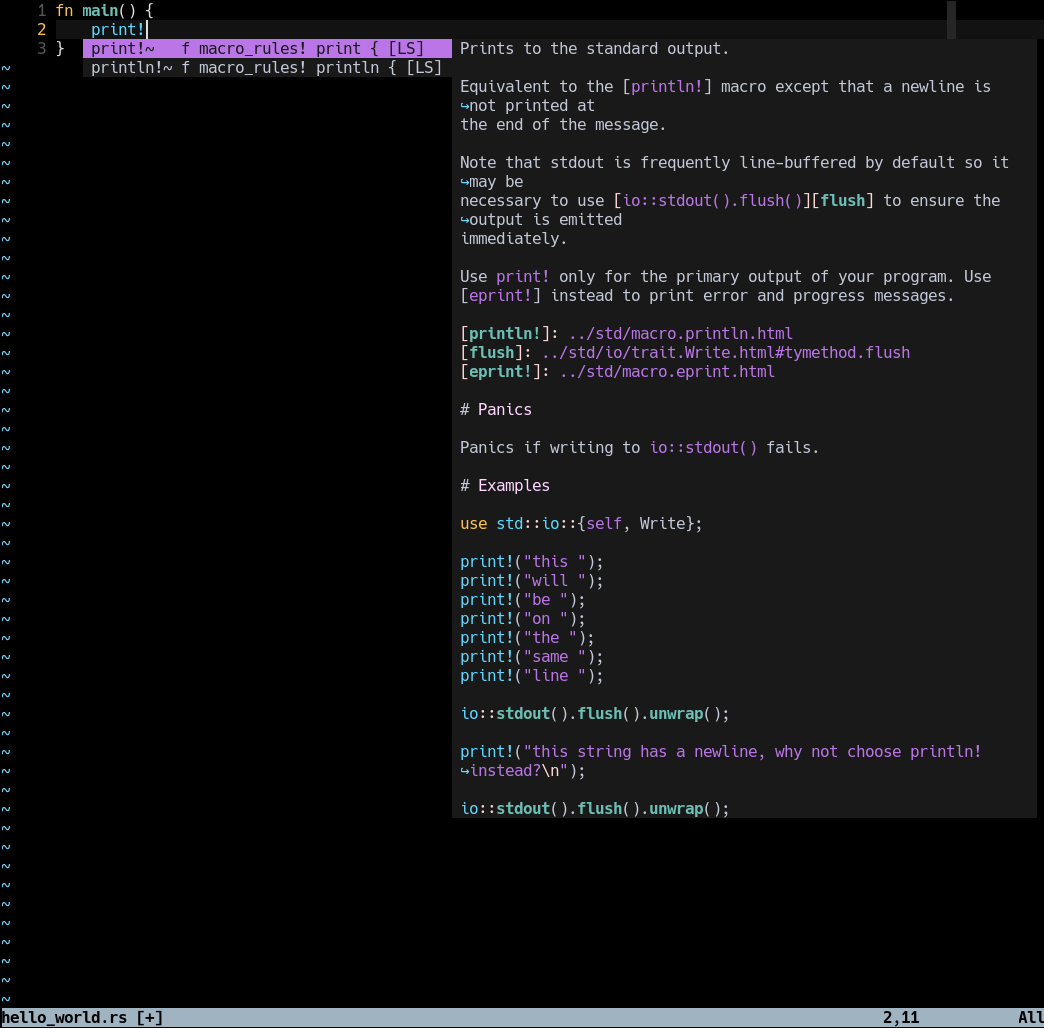
^ Rust Language Server (RLS) in action.
Maintenance
Unlike install.sh, which is a one-shot script, kickstart.sh was implemented with idempotency in mind so that it can be executed as many times as required.
Apart from that, the dotfiles repo already provides an updating script to keep any dependencies up to date: make update does the job. See all tasks available.
Bonus point: Get prepared for the worst
In the case of catastrophic hardware or software failure, I have some production-ready virtual machines stored in an external drive that have been installed using the same scripts described in this post. This is pretty convenient in case you have something urgent to attend to, and it’s a good way of getting your scripts tested from time to time.
List of files
To summarize, here are all the files that have been mentioned in this post: